When users share your site to social media, it’s nice to be able to control what image and description go with the share. This is the domain of the Open Graph tag. Read on to find out more about OG tags, and watch the video below for a visual overview of this topic.
Open Graph Meta Tags
Open Graph meta tags are snippets of code that control how URLs are displayed when shared on social media. They’re part of Facebook’s Open Graph protocol and are also used by other social media sites, including LinkedIn and X, but there’s varying levels of support, so they’re not always respected.
There are OG tags for titles, descriptions and images, and what we are looking at today is how to best implement these on your Avada site.
Global Options
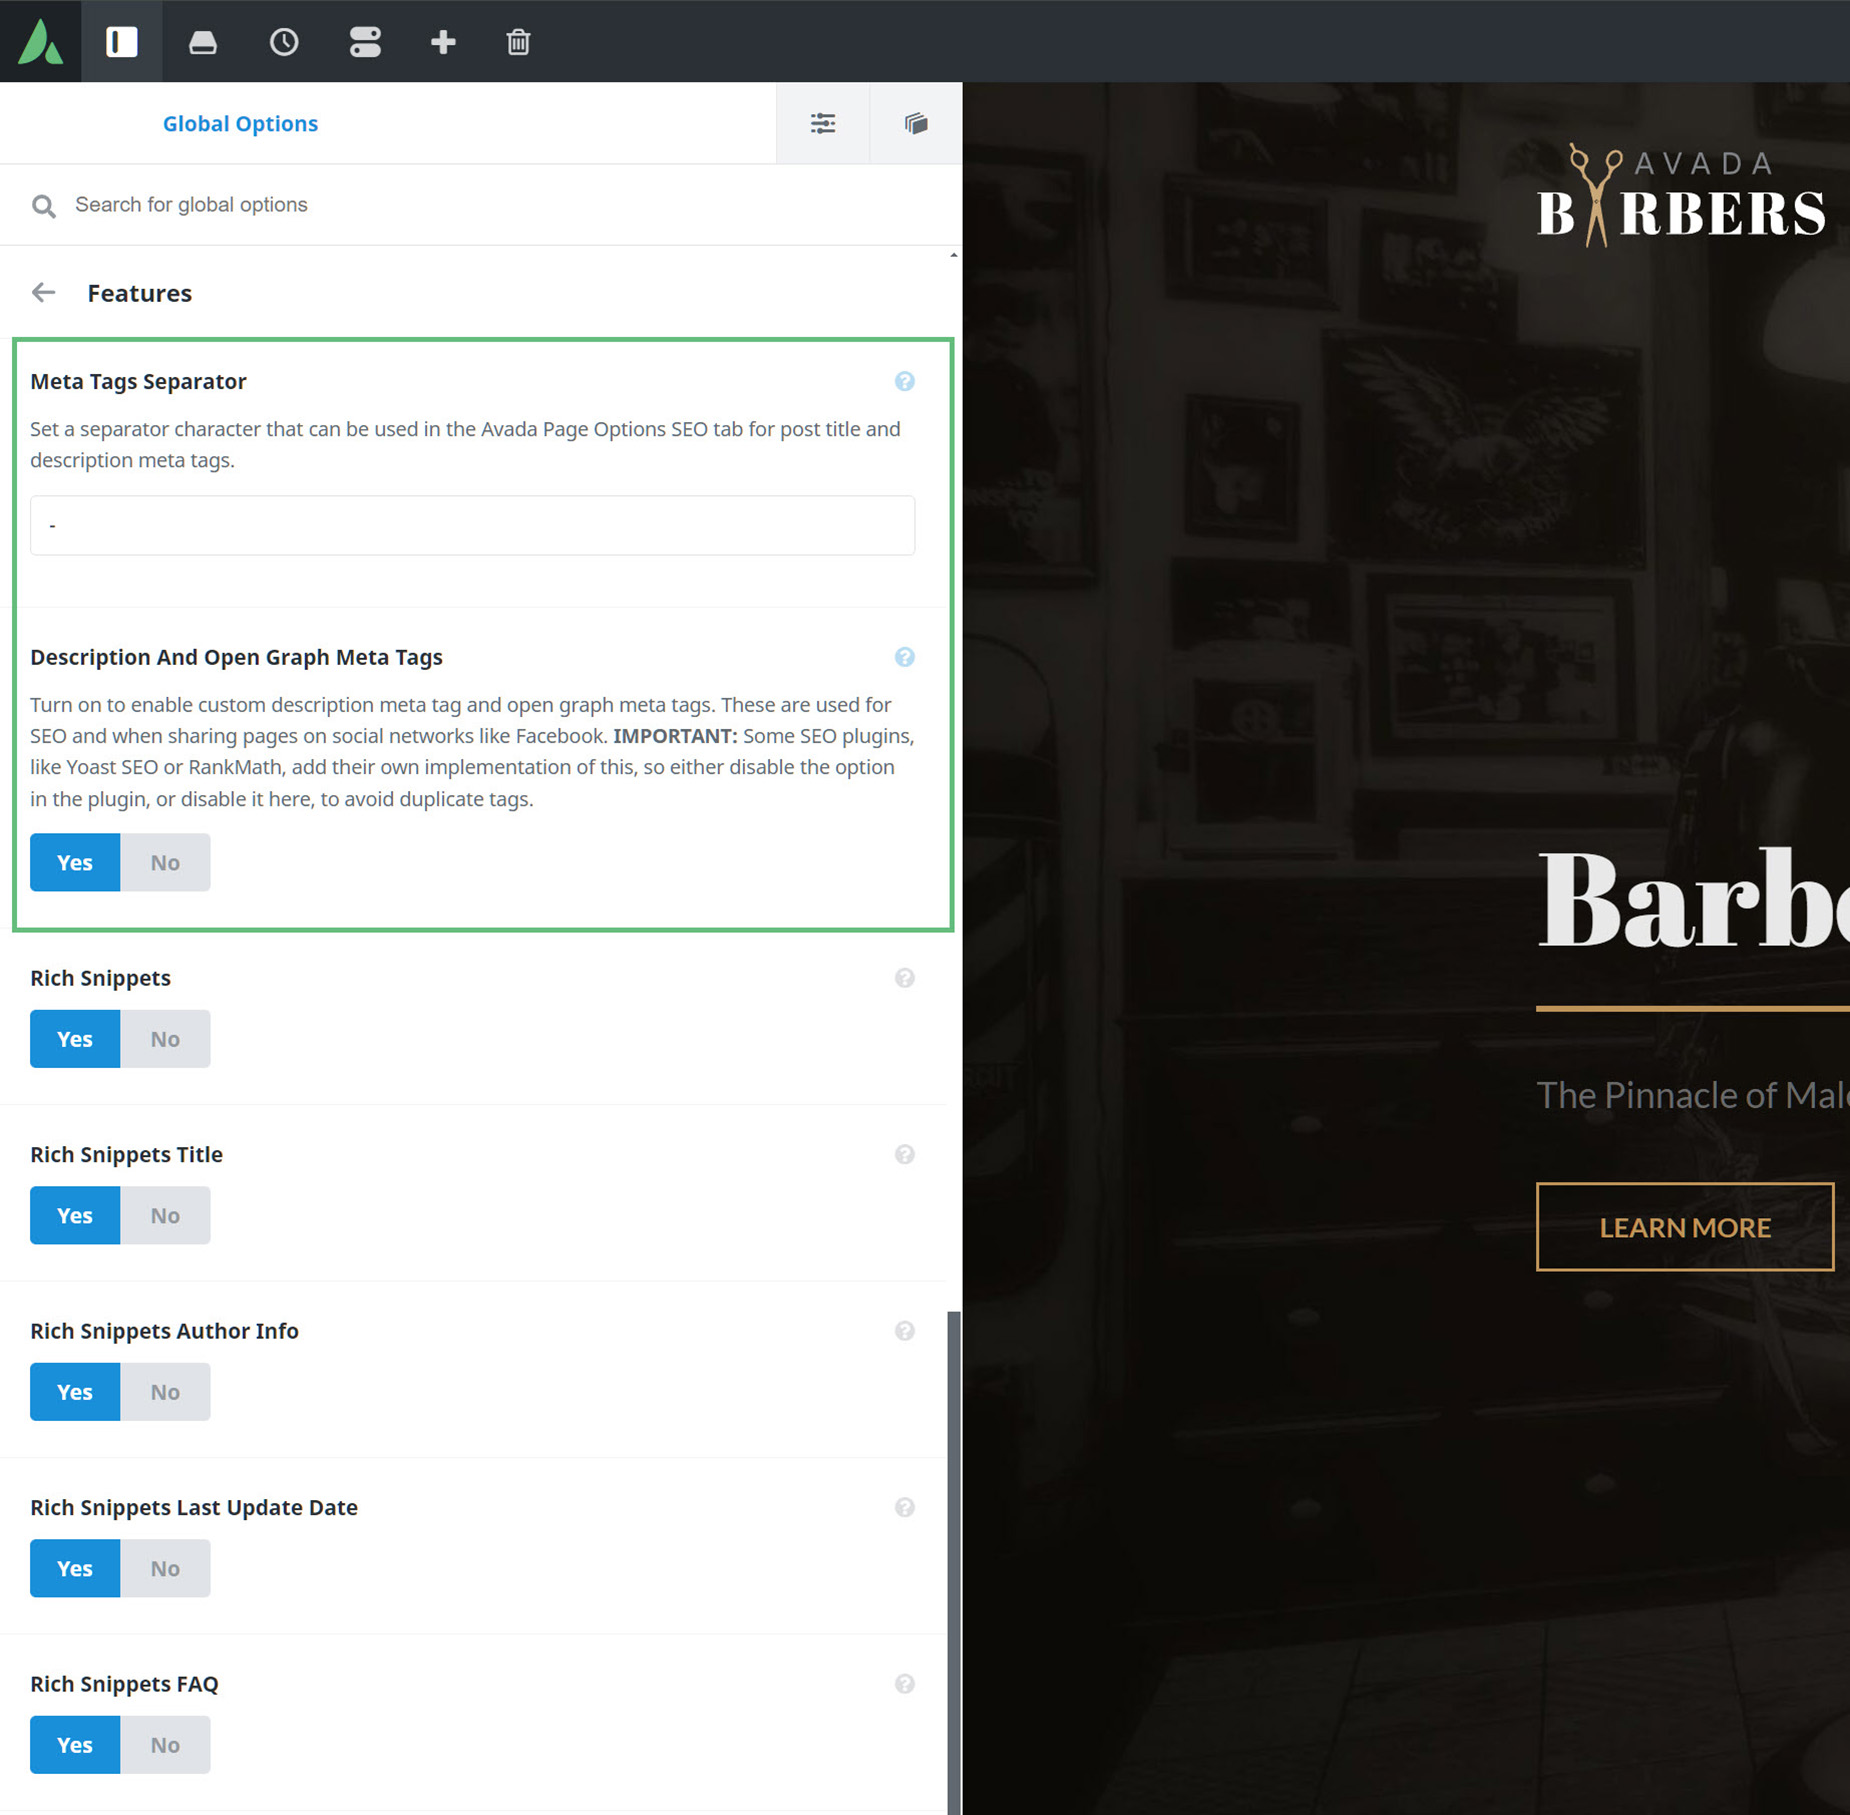
To start, there are a couple of Global options that relate to this topic. Under the Advanced > Features tab, there is an option called Description and Open Graph Meta Tags. As the description for this option explains, you turn this on to enable custom description meta tag and open graph meta tags in Avada.
As it also notes, it’s IMPORTANT to know that some optimization plugins, like for example Yoast SEO or RANK MATH, add their own implementation of this. You can choose whether to use Avada’s implementation of this or the plugin’s, but you should not use both, as this can cause duplicate tags.
There is also another option above this one called Meta Tags Separator. This just controls the separator character that can then be used in the Avada Page Options SEO tab for post title and description meta tags.
Page Options
Then there are the page options section of a post or a page. On the SEO tab, there are options for the SEO Title, a Meta Description, and an Open Graph Image. If these are set, which is on a page by page basis, these tags will be used when sharing the post or page to social media.
If there is a featured image set on the page or post, and no image has been added in the SEO tab of the page options, then the featured image will be used instead.
If nothing is set anywhere, then the logo from the Global options will be used.

Facebook Options
It’s also worth noting that the various social networks can have different requirements for images. Facebook for example has this page – https://developers.facebook.com/docs/sharing/webmasters/images/ – which specifies the size and even aspect ratio for images, and you can even test your shares out with the Debugger tool – https://developers.facebook.com/tools/debug.
Avada includes a wide range of social media options, enabling you to share your social links and feeds, as well as allowing users to share your content to their own social networks. Continue reading below to learn more about how to set up the social media options in Avada, and watch the video below for a visual overview.
Social Media Icons allow you to share links to your Social Media channels. These icons are typically placed in the header and footer of your site. There are two ways to add these icons. Our recommended method is to add Social Media Icons into a Header or Footer Layout Section using the Social Links Element, however with this Element, you can add them anywhere in your content. Read the Element doc and the Introducing Avada Layouts doc for more information on this method.
If you are not using Avada Layouts, there is still the legacy method for adding social media icons into your header or footer. In the Social Media Icons panel, found at Avada > Options > Social Media > Social Media Icons, you will find a repeater field, to which you can add one social network at a time. You can add as many social links as you require. These icons are then displayed if the selected Header Layout has a place for them. See the Header Layouts via Global Options doc for more details on the various legacy headers.
Social Feeds
There are also a range of Design Elements in Avada, with which you can display full social feeds. These are the Facebook Page Element, and the Twitter Timeline Element, as shown below, and if you see Flickr as being a social platform, your can add the Flickr Element to the list. These Elements replace the legacy widgets method, are highly configurable, and can be added anywhere into your content. See the individual Element docs for more information on these.
Social Sharing
You can also allow your users to share your content to a chosen range of social media sites. Our recommended method for this is to use the Social Sharing Element, for example, in a single post layout, but again, with this Element, a Sharing Box can be placed anywhere in your content, as can be seen below.
If your’re not using Avada Layouts, and you want to add the Sharing Box to a post or portfolio template, your can still use the legacy method. The Sharing Box feature can be enabled or disabled on any blog or portfolio single post page, and the sharing box, itself can be widely customized. See the for more information on configuring the Social Sharing global options.
Share This Doc, Choose Your Platform!
Have you ever wanted to share a web page, blog post, WooCommerce product, portfolio item or other piece of interesting content with your friends and colleagues? Avada already has an integrated Social Sharing Box (found at Avada > Options > Social Media > Social Sharing), but for even more control, we also have the Social Sharing Element!
This handy Element can be placed wherever you want on a page, post, custom post type, or even in a Layout, and allows you to totally customize the look, color, appearance, links, and description of the link, to any piece of your content. Read on to find out more about this practical and versatile Social Element, and watch the video for a visual overview.
How To Use The Social Sharing Element
The Social Sharing Element is a simple way to add a social media sharing box anywhere in your content. You can also use this Element effectively in Avada Layouts. To start, add the element into your desired column.
You can configure your Social Sharing Box in the General Tab and style it in the Design tab. The Extras tab has also been added, which offers Element animation on load. Check below for details on all the available element options.
Element Options
Note: The Default setting will use the global settings assigned for this element at Avada > Options > Avada Builder Elements > Social Sharing. Also, please note that the displayed options screens below show ALL the available options for the element. If you have Avada’s Option Network Dependencies turned on, you will only see options relevant to your selections, and so the options screen may look somewhat different.
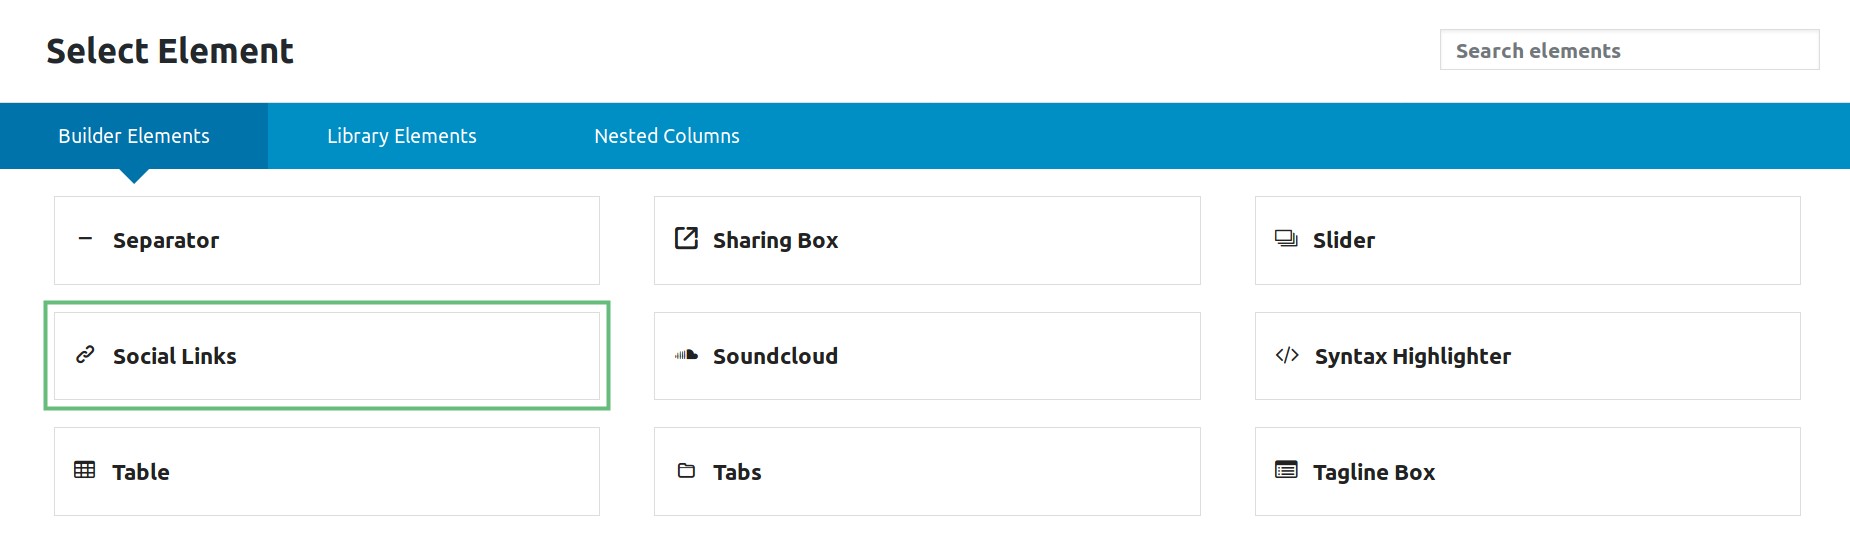
The Social Links Element allows you to add social media links anywhere in your content. The Element is loaded with options that allow you to easily customize your Social Media icons. Read below to discover more about this useful social media element, and watch the video for a visual overview.
How To Use The Social Links Element
The Social Links Element is a quick and easy way to add your own social media links anywhere on your site.
To start, add the element into your desired column, and configure the Social Links Element to your liking. There are styling options for the icons, including the ability to use either branded or custom colors for icons, and then, once you have styled the icons the way you like, there are fields to add your own profile links for every major Social Media platform. You can also add an email icon, and any custom social icons specified in the Global Options.
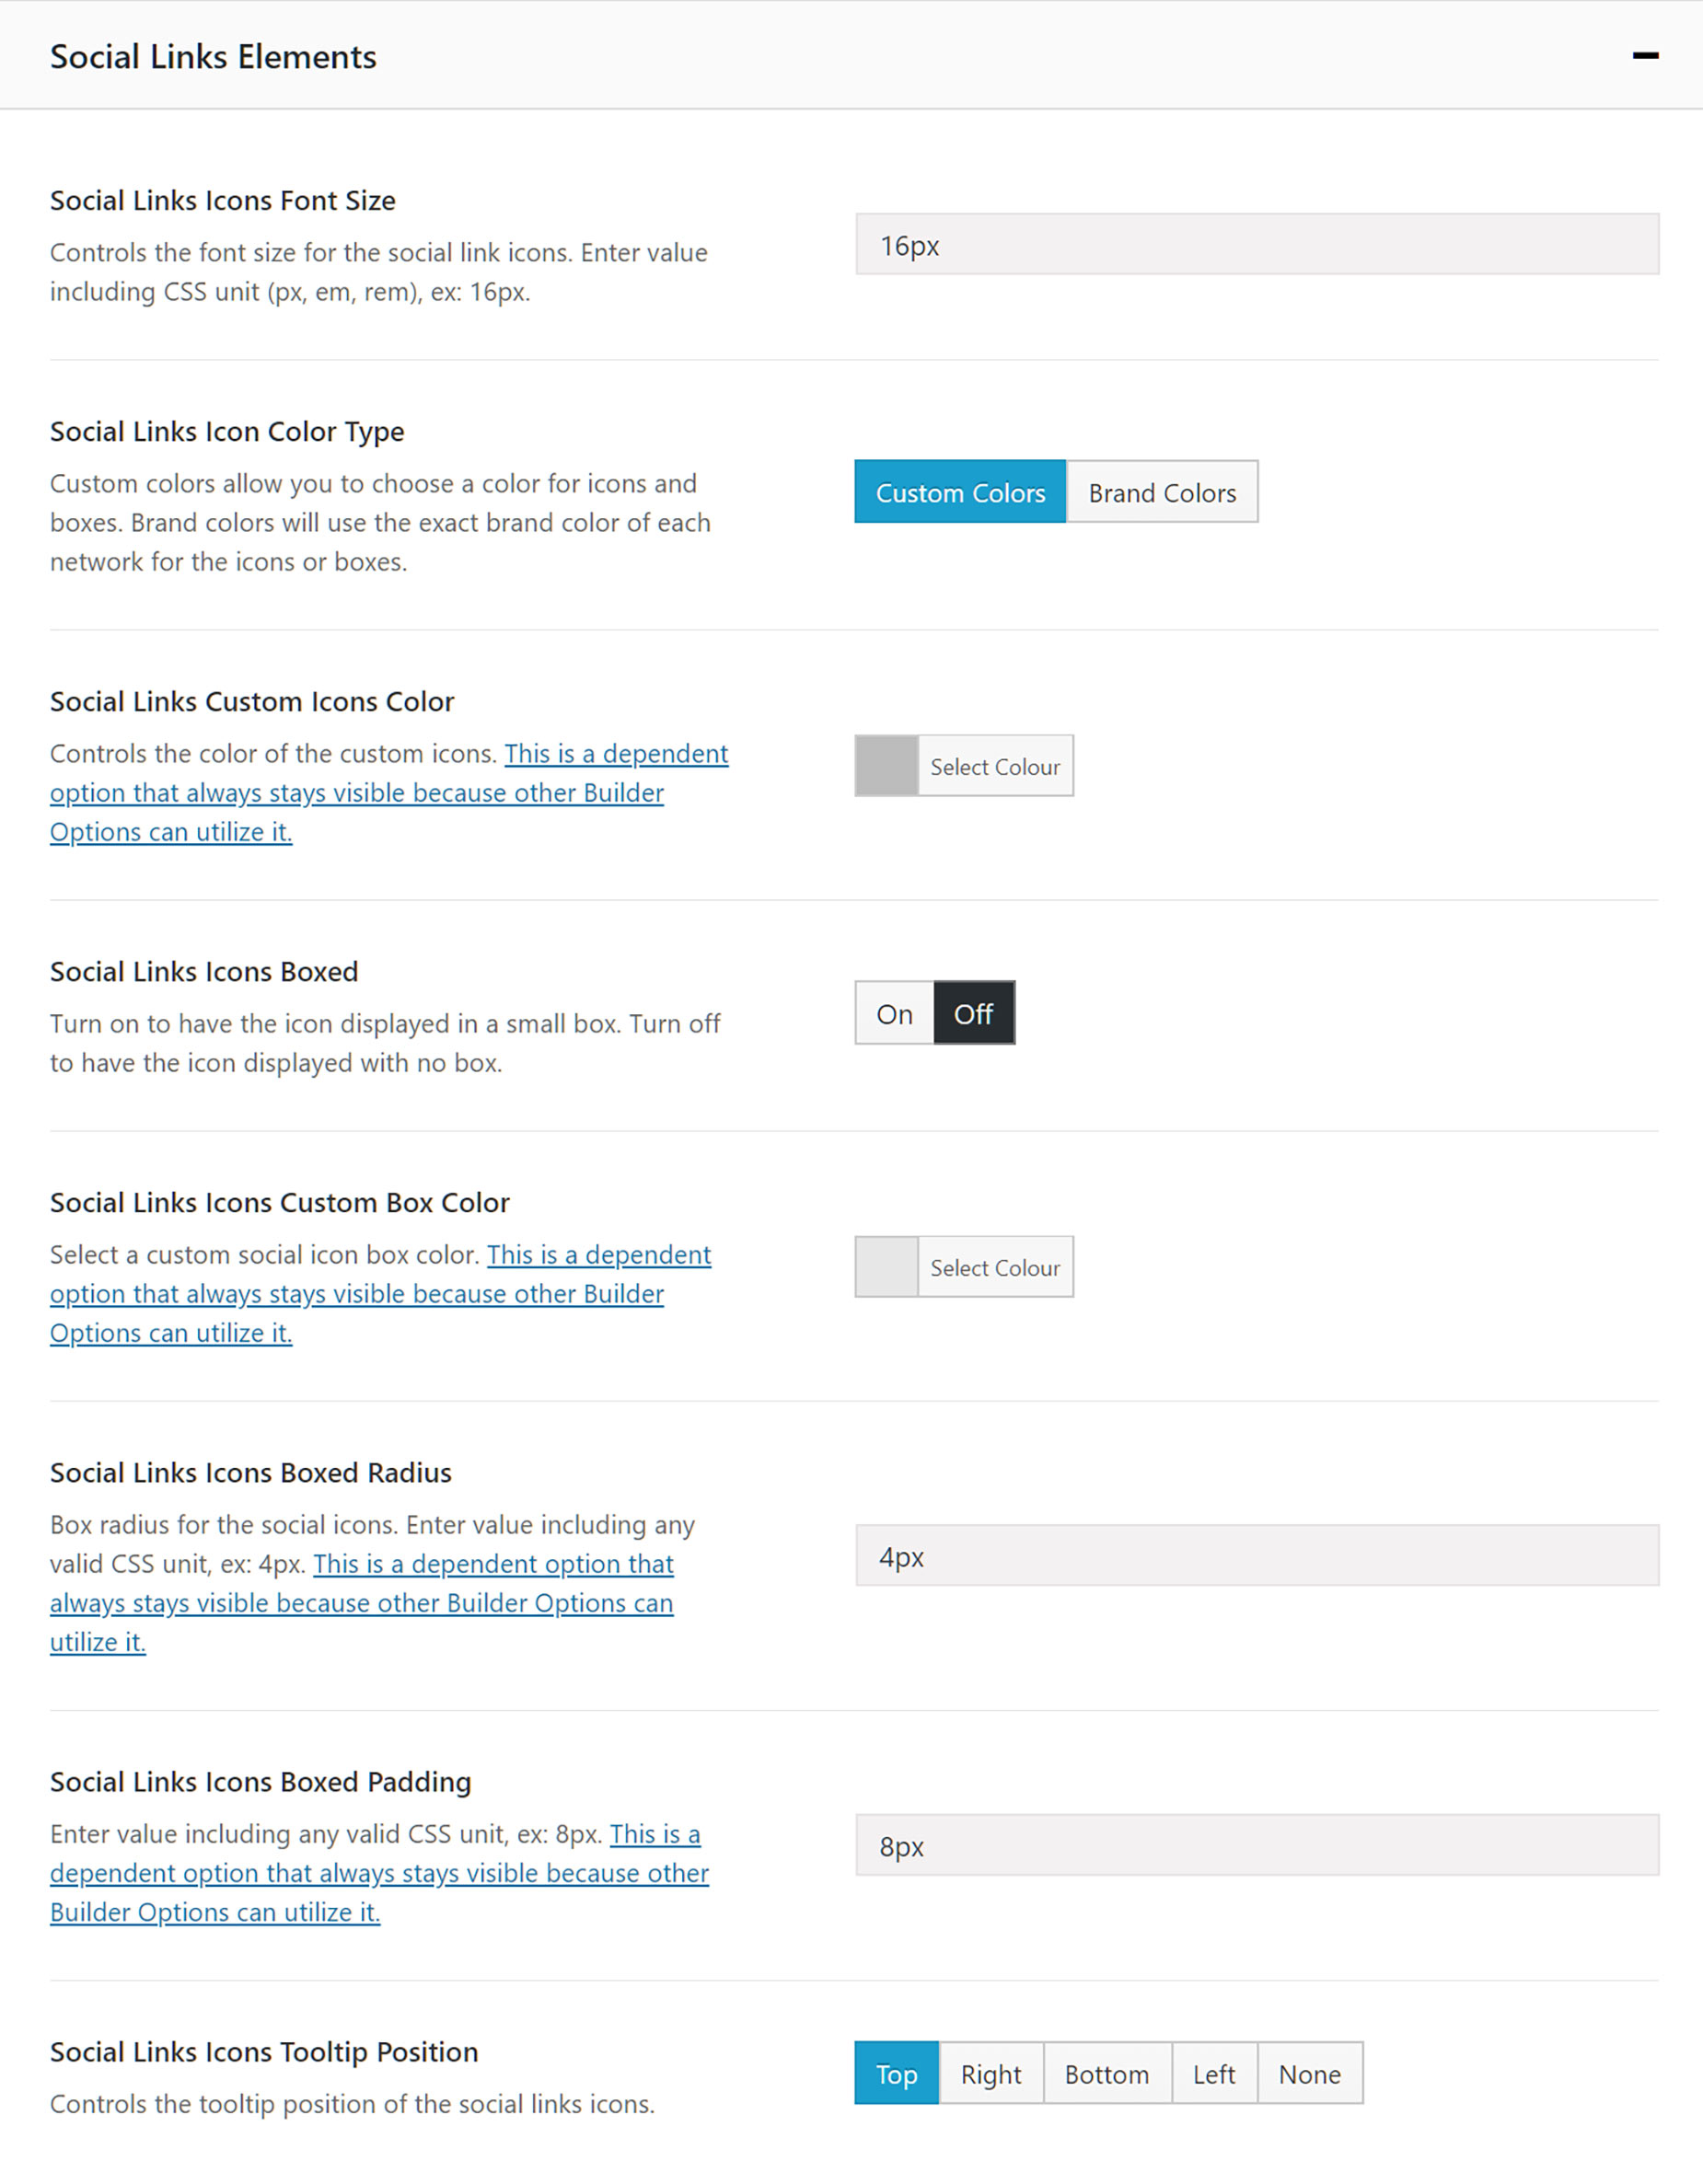
Element Options
Note: The Default setting will use the global settings assigned for this element at Options > Avada Builder Elements > Social Links. Also, please note that the displayed options screens below show ALL the available options for the element. If you have Avada’s Option Network Dependencies turned on, you will only see options relevant to your selections, and so the options screen may look somewhat different.
Avada includes a wide range of social media options, enabling you to share your social links and feeds, as well as allowing users to share your content to their own social networks. This document looks primarily at the legacy methods of adding social media icons, and social sharing to your site. See the How To Set Up Social Media Options In Avada document and video for an overview of the latest, recommended methods using Avada Layouts.
Social Media Icons
In the Social Media Icons panel, found at Avada > Options > Social Media > Social Media Icons, you will find a repeater field, to which you can add one social network at a time. You can add as many social links as you require. You can also add custom social links and icons here, which you can read more about below.
How To Add Social Media Icons
Step 1 – Navigate to Avada > Options > Social Media > Social Media Icons.
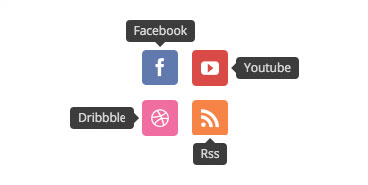
Step 2 – In the repeater field dropdown, select the social network that you’d like to add an icon for. For example, Facebook.
Step 3 – Under the ‘Link (URL)’ field, enter the URL you’d like the social media icon to link to. For example, http://www.facebook.com/avada.
Step 4 – Once done, click the ‘Add’ button to add it to the list.
Step 5 – To add another social media icon, simply repeat Step 2 to 4.
Step 6 – To delete a social media icon, expand the social media icon tab you’d like to delete, then click the ‘Delete’ button on the lower right side.
Step 7 – To rearrange the order of the social media icons, simply drag and drop each tab until you achieve your desired order.
Step 8 – Once you’re done adding social media links, don’t forget to click the ‘Save Changes’ button.
Header Social Icons
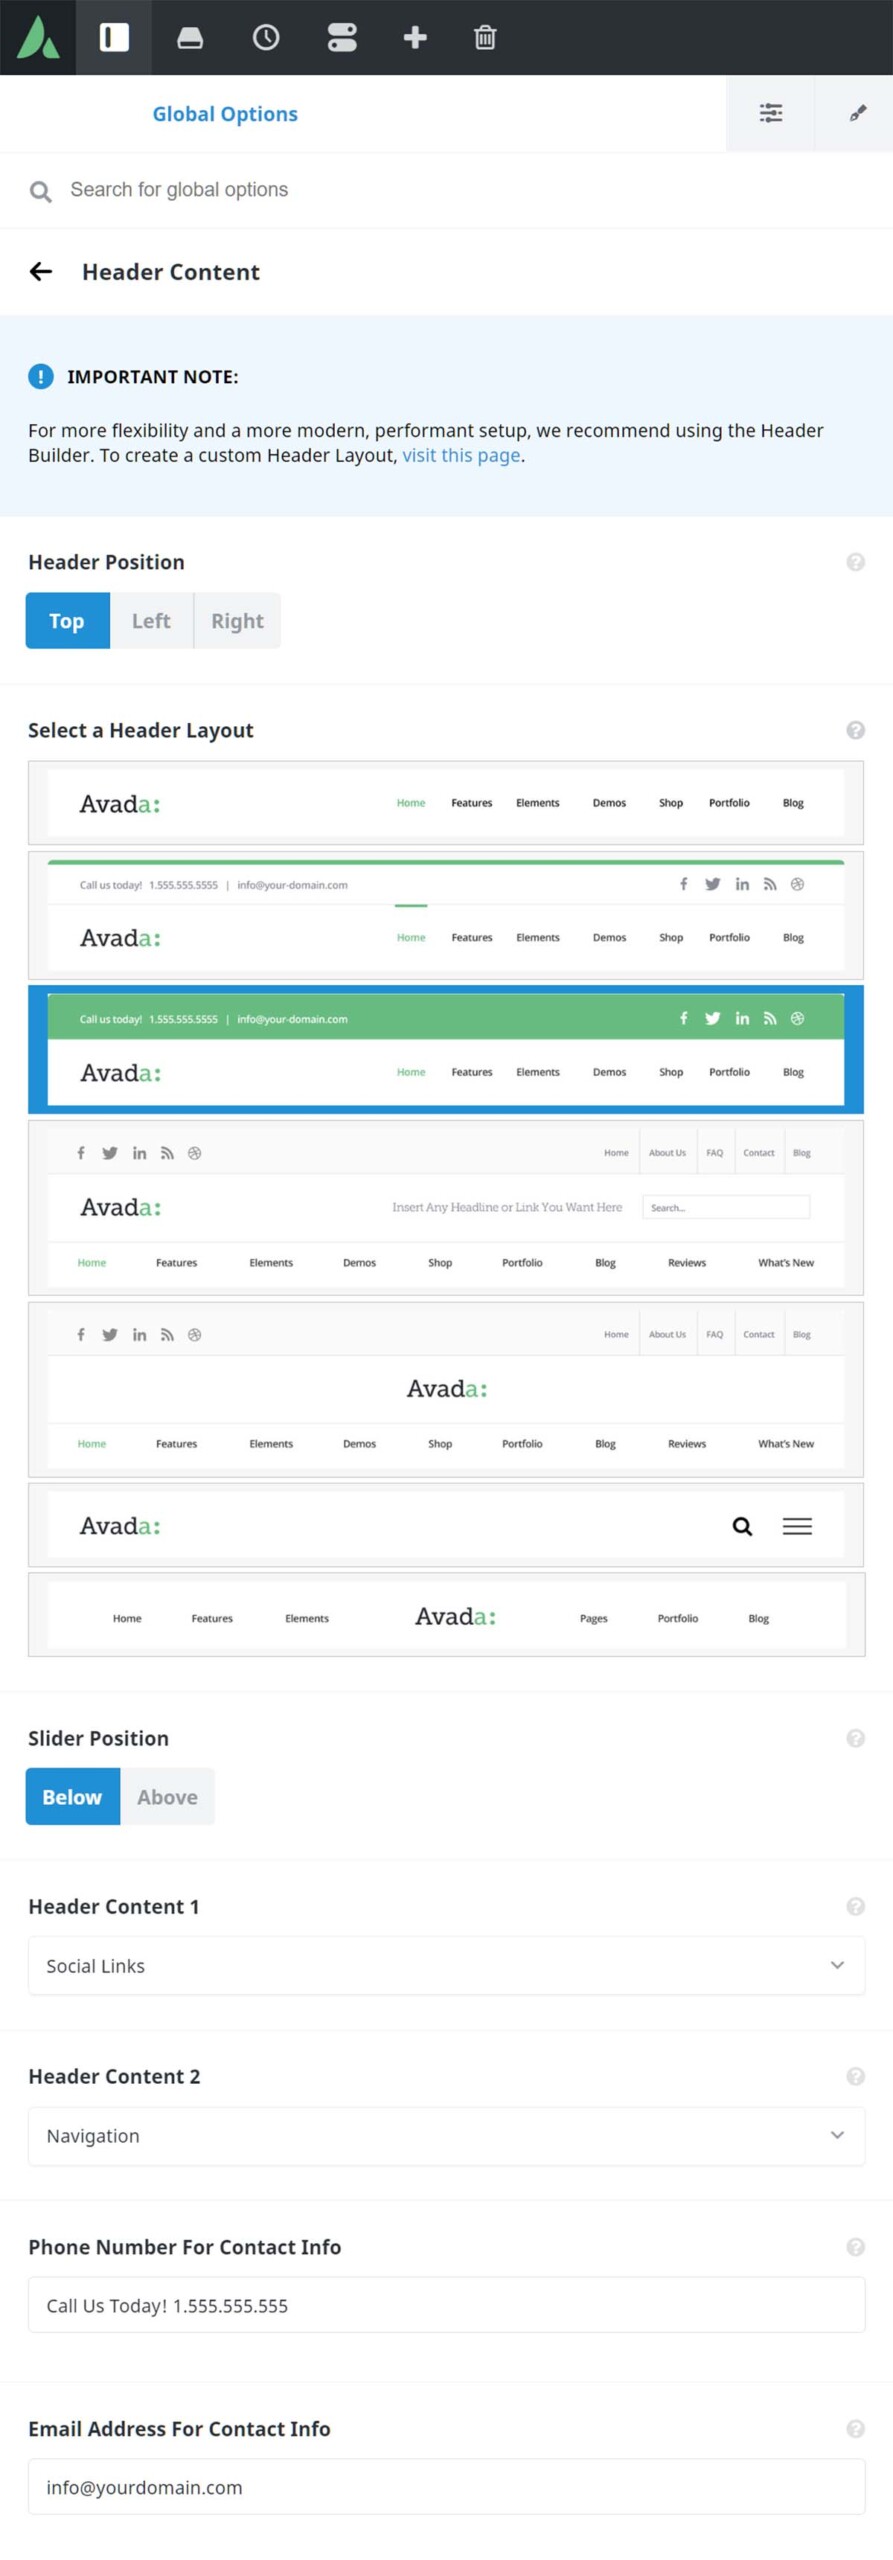
Once you have added Social Media Links, you can display them on your site. On the Header Content tab, found at Avada > Options > Header > Header Content, you can, if you have chosen a header layout that supports it, choose to show Social Links in the Header Content 1 or Header Content 2 field. Full instructions and screenshot below.
How To Display Social Media Icons In Your Header
Step 1 – Navigate to Avada > Options > Header > Header Content.
Step 2 – Choose a header layout #2 – #5 (not available for header layouts 1, 6, 7).
Step 3 – Under ‘Header Content 1’ or ‘Header Content 2’ dropdowns, select the Social Links option to display social links on the header.
Step 4 – Don’t forget to save your changes by clicking the ‘Save Changes’ button.
Styling Header Social Media Icons
To style your Header Social Media Icons, see the following steps.
Step 1 – Navigate to Avada > Options > Social Media > Header Social Icons Styling.
Step 2 – On this tab, you will find configuration options such as font size, tooltip position, color, and layout.
Step 3 – When you are done, click the Save Changes button.
You can also display social media icons in your Footer. They draw from the same pool of social media icons set previously, but you can style them independently to the header social media icons. Continue reading below to learn how to display social media icons on your footer and customize them.
How To Display Social Media Icons In Your Footer
Step 1 – Navigate to Avada > Options > Social Media > Footer Social Icons Styling.
Step 2 – Locate the ‘Display Social Icons In The Footer’ option and select On.
Step 3 – Under this tab, there are also several options that you can use to customize the appearance of the footer social media icons.
Step 4 – When finished, don’t forget to click the ‘Save Changes’ button.
The Social Sharing Box allows your viewers to share any blog or portfolio post using several social media networks. This feature can be enabled or disabled on any blog or portfolio single post page. On this tab, you can customize the social sharing box itself and the social media icons within it. Also in this section, we’ve included a quick guide on how to enable/disable the social sharing box on blog and portfolio posts.
How To Enable Social Sharing Box In All Single Blog Post Pages
Step 1 – Navigate to Avada > Options > Blog > Blog Single Post.
Step 2 – Locate the Social Sharing Box option, and select ‘On’ to enable the Social Sharing Box.
Step 3 – Don’t forget to save your changes by clicking the ‘Save Changes’ button.

How To Enable Social Sharing Box In One Single Blog Post Page
Step 1 – Navigate to the blog post you’d like to enable the Social Sharing Box in.
Step 2 – Under Page Options > Post tab, locate the Show Social Share Box option and set it to ‘Show’.
Step 3 – Don’t forget to save your changes by clicking the Save Draft or Publish.

How To Enable Social Sharing Box In All Single Portfolio Post Pages
Step 1 – Navigate to Avada > Options > Portfolio > Portfolio Single Post.
Step 2 – Locate the Social Sharing Box option, and select ‘On’ to enable the Social Sharing Box.
Step 3 – Don’t forget to save your changes by clicking the ‘Save Changes’ button.

How To Enable Social Sharing Box In One Single Portfolio Post Page
Step 1 – Navigate to the portfolio post you’d like to enable the Social Sharing Box in.
Step 2 – Under Page Options > Portfolio tab, locate the Show Social Share Box option and set it to ‘Show’.
Step 3 – Don’t forget to save your changes by clicking the Save Draft or Publish.

How To Style Social Sharing And Icons
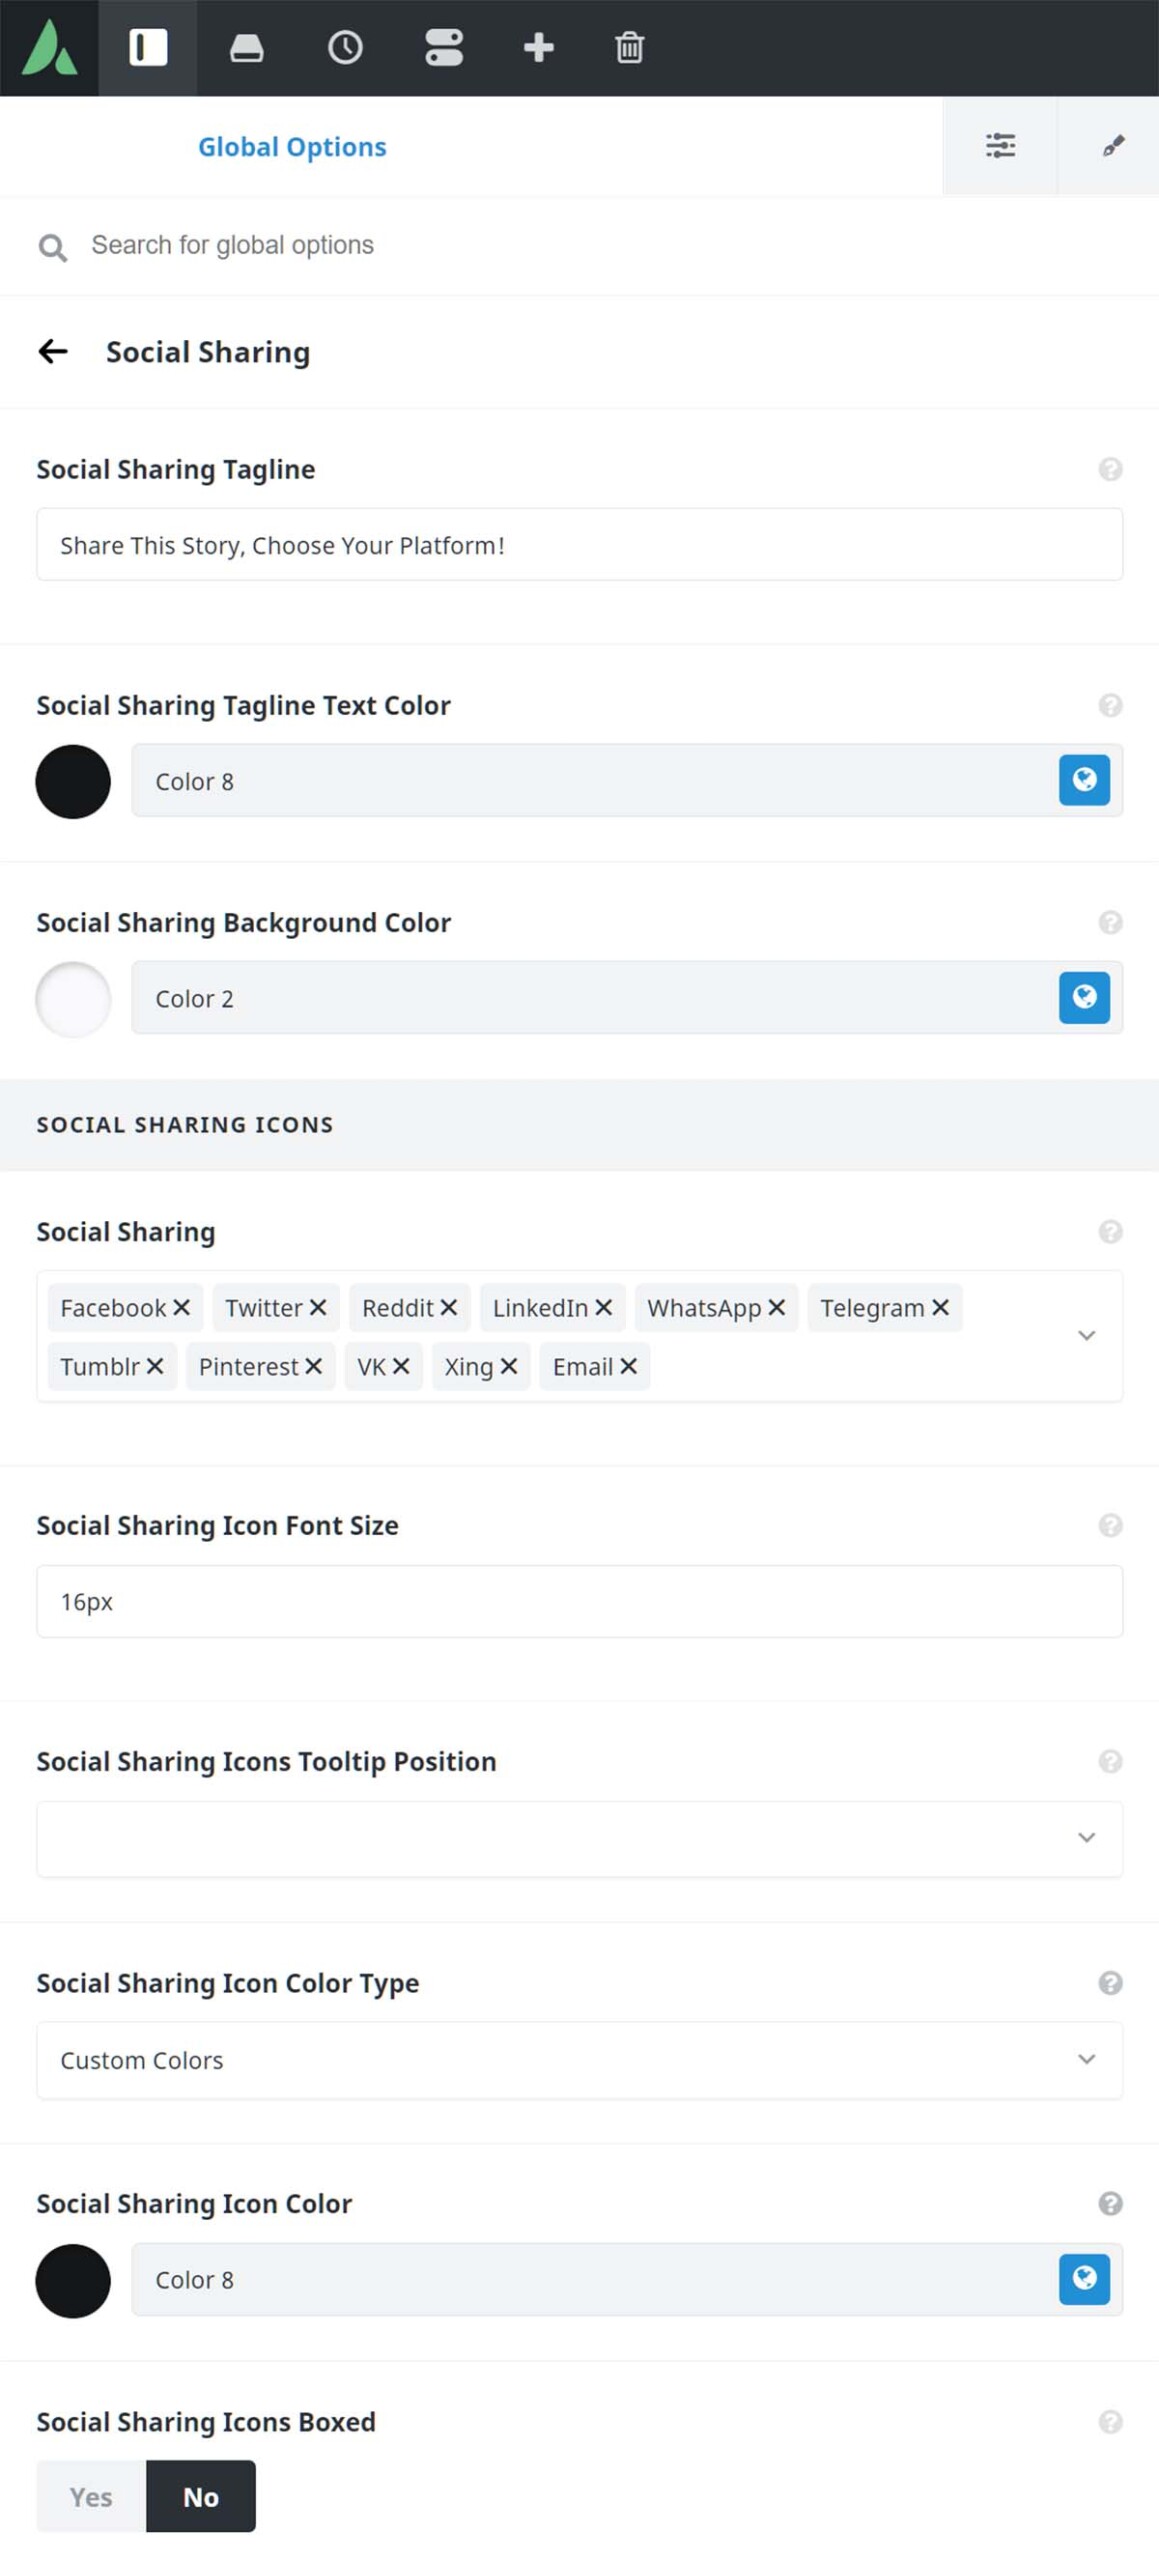
Step 1 – Navigate to Avada > Options > Social Media > Social Sharing.
Step 2 – Here you will see multiple options for social sharing such as the tagline, background color. You’ll also find options for the Social Sharing Icons such as font size, tooltip position, etc.
Step 3 – Under the Social Sharing Links section, you can select which social links to display on the Social Sharing Box. Simply choose ‘On’ for the corresponding social link option that you’d like to show. For example, if you’d like your viewers to be able to share your portfolio or blog post on Facebook, then you will need to set the Facebook option to On.
Step 4 – Don’t forget to save your changes by clicking the ‘Save Changes’ button.
How To Add The Social Sharing Element To A Page Or Post
Step 1 – Navigate to the page or post where you’d like to add the Social Sharing Element.
Step 2 – Activate the Avada Builder by clicking the ‘Use Avada Builder’ button.
Step 3 – Add a new Container to the page, and select your desired column layout.
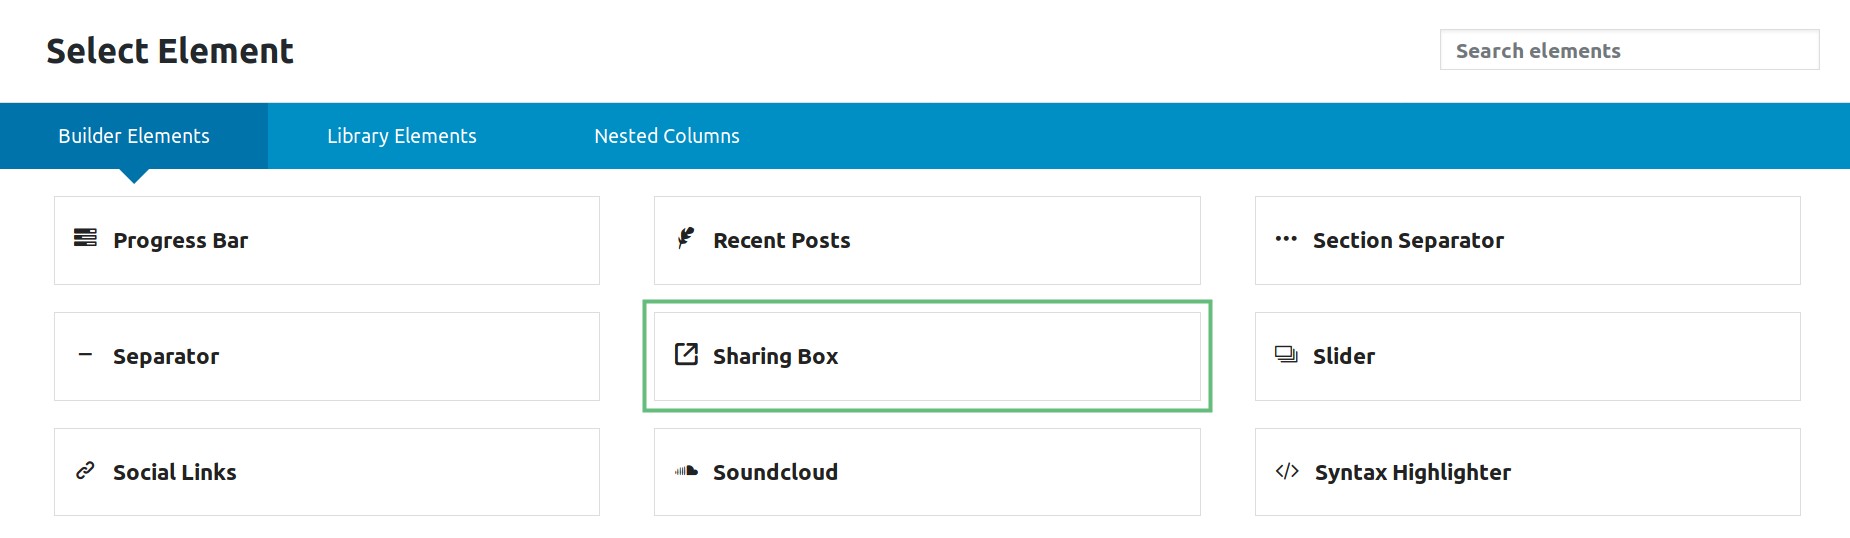
Step 4 – Click the ‘+ Element’ button to bring up the ‘Elements’ window. Find the Social Sharing Element, and then click it to add it to the page and bring up its options window.
Step 5 – Customize the Social Sharing Element to your liking.
Step 6 – Once finished, click ‘Save’.
Social Links Element
The Social Links Element can be inserted in any page or post you create. To learn how to add and customize the Social Links Element, please continue reading below.
How To Add The Social Links Element To A Page Or Post
Step 1 – Navigate to the page or post you’d like to add the Social Links element.
Step 2 – Activate the Avada Builder by clicking the ‘Use Avada Builder’ button on the top of the content editor.
Step 3 – Add a new Container to the page, and select your desired column layout.
Step 4 – Click the ‘+ Element’ button to bring up the ‘Elements’ window. Find the Social Links element then click it to add it to the page and bring up it’s options window.
Step 5 – Add links to the respective social network fields you’d like to display. For example, if you’d like to display the Facebook social icon, you need to add a Facebook link to the Facebook field provided.
Step 6 – Once finished, click ‘Save’.
How To Configure Social Links Elements Globally
Step 1 – Navigate to the Avada > Options > Avada Builder Elements panel.
Step 2 – On this panel, you’ll find the ‘Social Links Elements’ tab. Under this tab, you’ll find several options that allow you to customize the appearance of the Social Links elements globally. Please keep in mind that this tab also controls the global options for the Person element.
Step 3 – Once done, click the ‘Save Changes’ button.
Social Links Widget
You can use the Social Links widget to insert social links to any widget-ready areas of your site; such as the footer, sliding bars, sidebars, mega menu columns, and the like. To learn how to add a Social Links widget to widget areas, please continue reading below.
How To Add A Social Links Widget To Widget Areas
Step 1 – Navigate to the Appearance > Widgets tab on your WordPress admin sidebar.
Step 2 – You must first create a widget area. To learn more about this, please refer to our Widgets Section article.
Step 3 – Under the Available Widgets section, locate the ‘Avada: Social Links’ widget. Then, drag and drop it to the widget area you’d like to add it to.
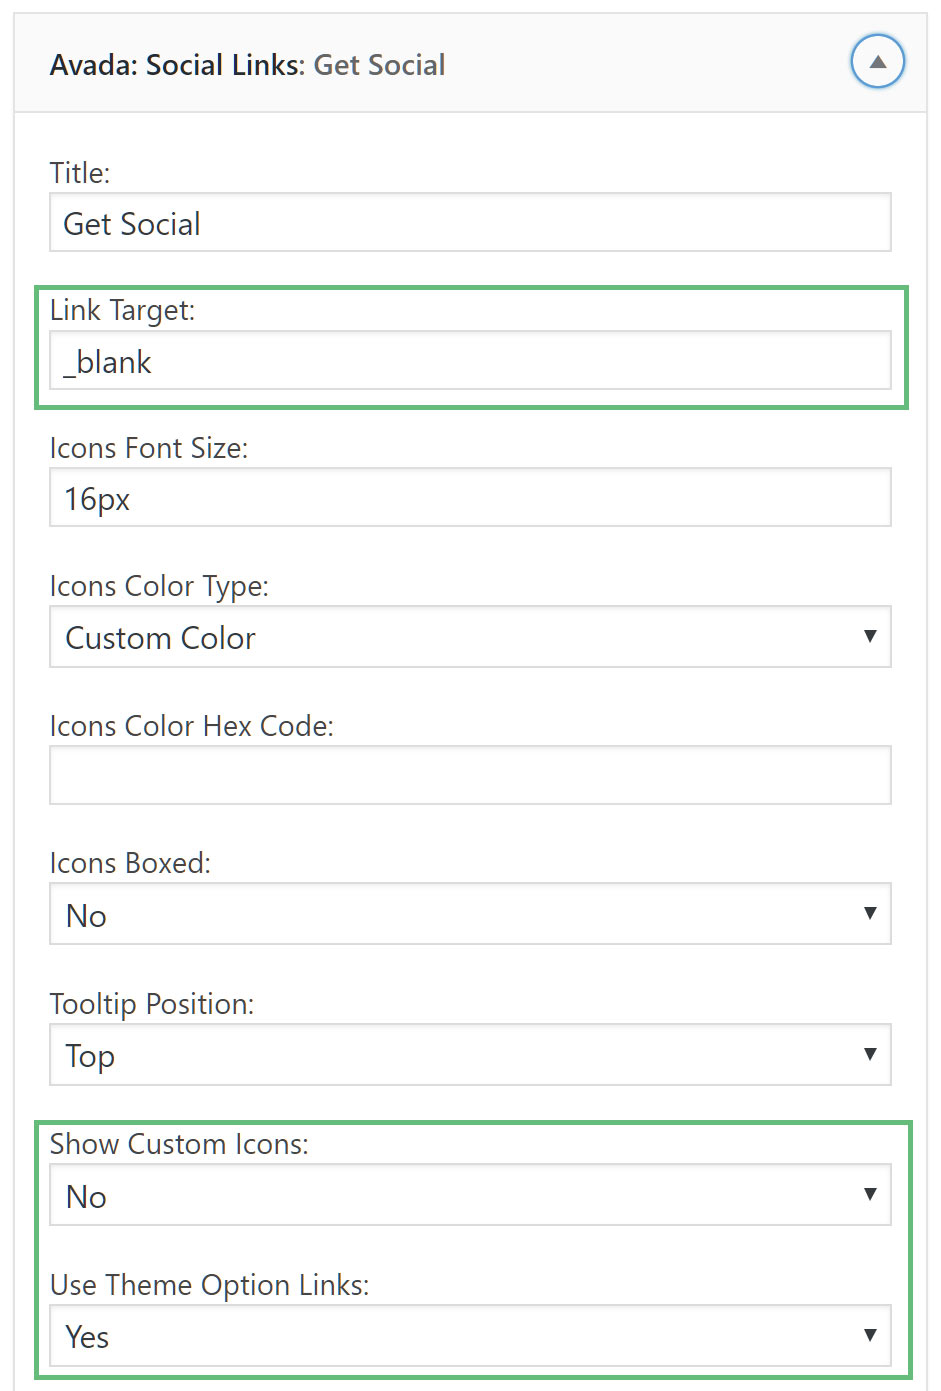
Step 4 – Once you add it to a widget area, the widget will automatically expand and display all the available customization options. Using these options, you can customize the widget and add your desired social links to their corresponding social network fields. For example, if you’d like to display a Facebook link, then enter that link under the ‘Facebook Link’ field. View screenshot here.
NB. A few options to be aware of here: If you want to ensure your Social Media Links open in a new window, make sure to add “_blank” to the Link Target option. Also, you can add your own Social Media links by adding the link in the fields provided, or you can choose to Use Theme Option Links and/or Show Custom Links. See these options here.
Step 5 – Once done, click ‘Save’.
Social Media Icons Styling
There are several configurable options that makes it easy to style your social media icon’s appearance. These options are found in the respective areas where social icons can be displayed. To learn how these options affect the social icons, please continue reading below.

Social Icon Font Size
Use this option to increase or decrease the size of the social media icon. For example, 18px.
Social Icon Tooltip Position
Can be Top, Right, Bottom, Left or None. Choose the tooltip’s position.

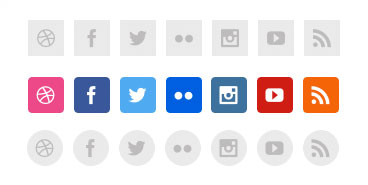
Social Icon Color Type
Can be Custom Colors or Brand Colors. Sets each icon’s color to it’s brand colors or custom colors.

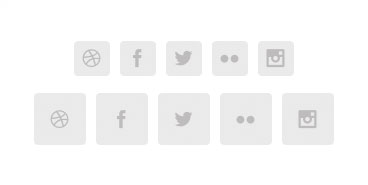
Social Icon Boxed
Can be On or Off. Use this option to display the social icons in boxes or just icons.
Social Icon Boxed Radius
If the ‘Social Icon Boxed’ option is set to On, then this option controls the roundness of the box.
Social Icon Boxed Padding
If the ‘Social Icon Boxed’ option is set to On, then this option controls the interior padding of the icon.
Custom Social Media Icons
Adding custom social media icons allows you to display social networks that are not included on the list. You can also choose to add custom social media icons for existing social networks if you’d prefer to use your own icons. You can add as many custom social media icons as you’d like. To learn how to add custom social media icons, please continue reading the instructions below.
How To Add Custom Social Media Icons
Step 1 – Go to the Avada > Options > Social Media > Social Media Icons panel.
Step 2 – In the repeater field, select ‘Custom’ from the dropdown. The ‘Custom’ option is the last option in the dropdown.
Step 3 – Once ‘Custom’ is selected, the options on the repeater field will change.
Step 4 – Add your custom URL link in the ‘Link (URL)’ option.
Step 5 – Add your custom tooltip name in the ‘Custom Icon Title’ field.
Step 6 – Upload your custom icon image by clicking the ‘Upload’ button, then choose the appropriate image from your computer or media library.
Step 7 – Once you’re finished, don’t forget to click the ‘Save Changes’ button.
Social Media Icons